Professional TMA Installation: What a Proper Fit Involves
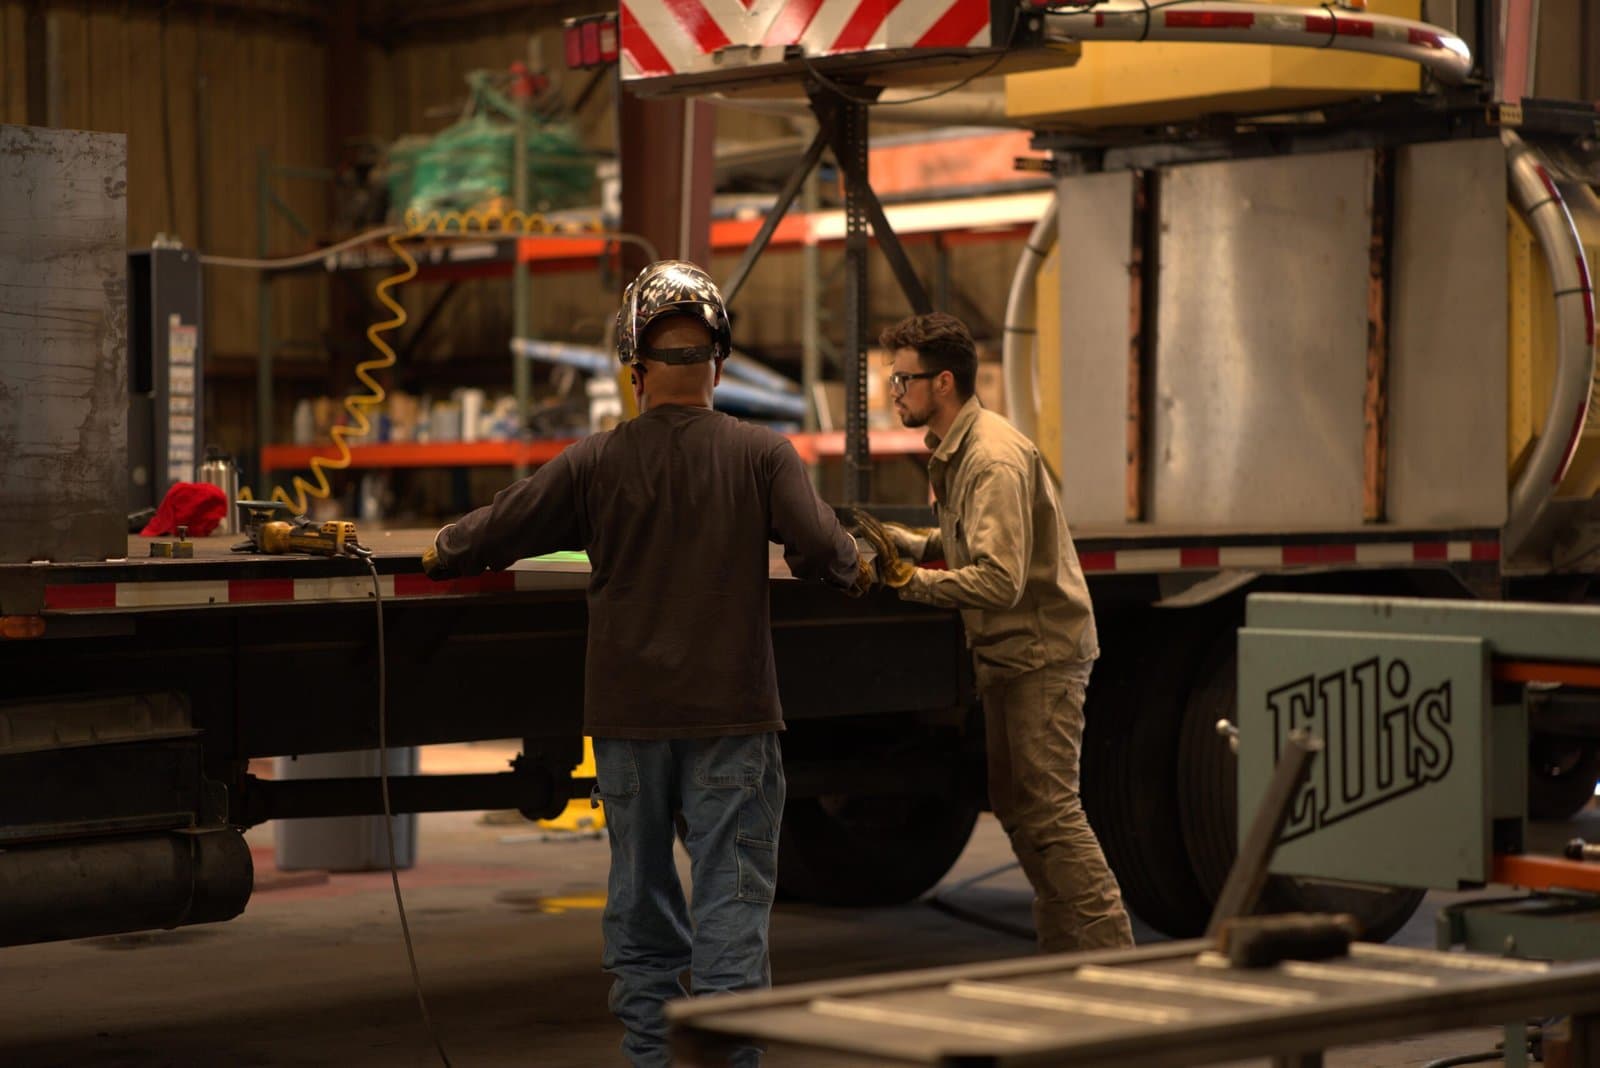
Bolting an attenuator to a chassis is not a weekend job. Professional TMA installation matches the mount, the wiring, and the chassis rating so the unit performs the way it was crash-tested to.
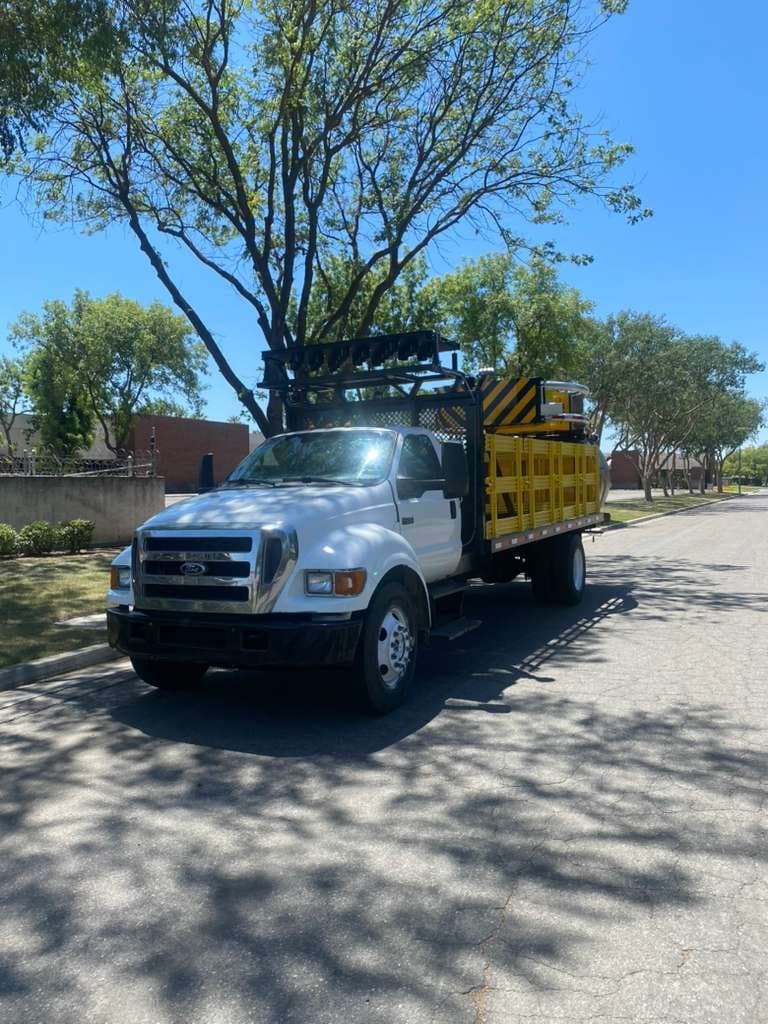
An attenuator is only as good as its installation. The crash test that earned the FHWA eligibility letter assumed a specific mounting configuration and a host truck of adequate mass. Professional TMA installation reproduces those conditions on your chassis so the unit behaves as tested when it counts.
What a proper install covers
- Verifying the chassis meets the minimum GVWR for the attenuator's rating
- Mounting the unit to the frame per the manufacturer's torque and hardware spec
- Wiring the arrow board or message board and warning lights to the cab controls
- Testing deploy and stow cycles and confirming the roughly 20-second deployment
- Confirming the FHWA eligibility letter matches the installed configuration
Why the chassis pairing is not optional
A TL-3 attenuator on an underweight truck can be pushed forward on impact, defeating the protection. That is why the roughly 26,000 lb GVWR floor exists. An installer who knows the standard will refuse a mismatch rather than hand you a truck that fails when struck.
Service after the install
Installation is the start, not the finish. Attenuators need periodic inspection and, after a qualifying hit, repair or re-certification. Heartland handles install, repair, and re-certification, with same-day service for fleets that cannot afford downtime.
Need a truck spec'd or serviced?
Tell us the job and we'll help — to buy, rent, or lease.